Introduction:
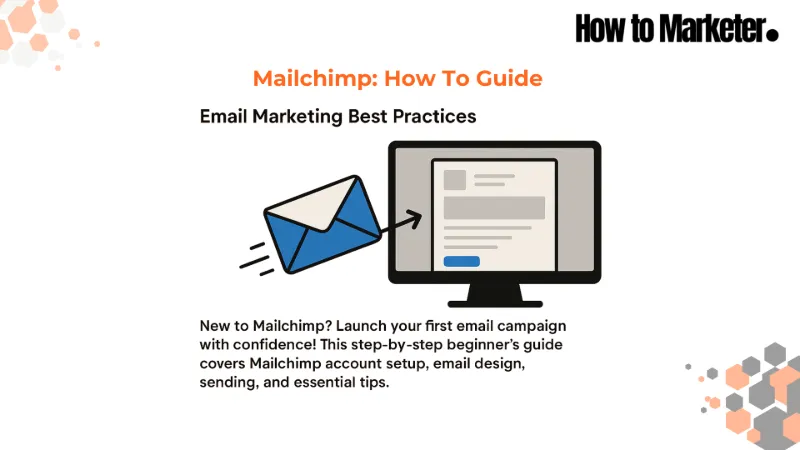
So, are you ready to send your first email marketing campaign and, consequently, decide to use Mailchimp? Indeed, this guide will walk you through the entire process, from setting up your account to, eventually, analyzing your results. Because Mailchimp is a popular tool for beginners due to its user-friendly interface, by following these steps, you’ll, therefore, be able to connect with your audience via email confidently.
Part 1 of 3: Setting Up Your Mailchimp Account and Audience
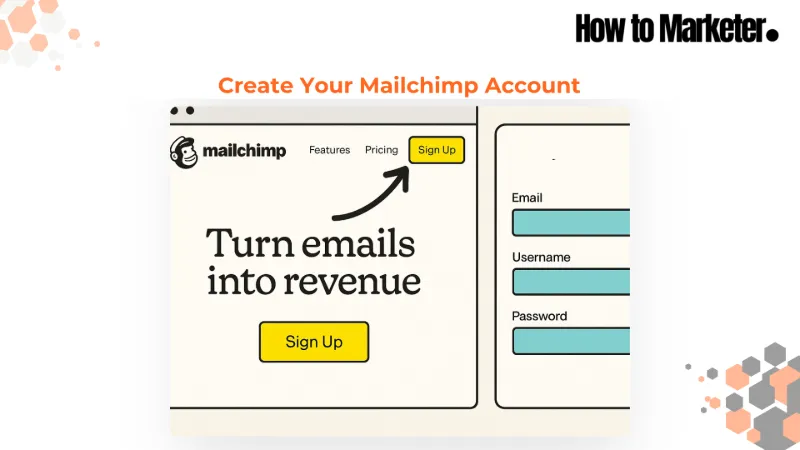
First, create your account.
To begin with, go to the Mailchimp website and click the “Sign Up” button. Next, you’ll need to provide an email address, create a username, and, additionally, set a password. Then, follow the on-screen prompts to input your business details, such as your name, business name, website (optional), and, importantly, your physical address (which is required by anti-spam laws).
Subsequently, familiarize yourself with the dashboard.
Once logged in, you’ll see your Mailchimp dashboard. Therefore, take a moment to look around. On the left-hand side, for instance, you’ll typically find the main navigation menu with links like “Campaigns,” “Audience,” “Automations,” and “Website.” This is your command center for all platform activities.

Then, import your existing contacts.
If you already have an email list (always ensure you have permission to email these contacts!), first navigate to the “Audience” tab. After that, look for an option like “Manage Audience,” then “Import contacts.” The platform, for example, allows you to upload a CSV file or copy and paste emails. So, follow the steps to map your contact information (such as email, first name, last name).

Next, create a Mailchimp signup form.
In order to collect new email addresses, go to “Audience,” then “Signup forms.” The platform offers various options; for instance, the “Form builder” is a good place to start. Here, you can customize the fields (e.g., ask for first name and email) and, furthermore, design elements. Once done, you’ll get a shareable link or embed code for your website.

Part 2 of 3: Creating and Designing Your Email Campaign in Mailchimp
Now, start a new email campaign.
First, click the “Create” button (which is usually a prominent icon on your dashboard or in the “Campaigns” section). From the options, then select “Email.” After that, choose a campaign type – “Regular” is standard for a one-off email. Finally, give your campaign an internal name that helps you identify it later (e.g., “July Newsletter Launch”).

Subsequently, choose your recipients.
In the “To” section of your campaign setup, first click “Edit Recipients.” Next, select the audience (your email list) you want to send the campaign to. For your first campaign, for example, you’ll likely send your entire list. The platform, however, also offers options to segment your list or use tags if you have more advanced needs later.

Then, set your sender information.
In the “From” section, next, confirm the name and email address that your recipients will see. This should be recognizable and professional (for instance, “Your Name at Your Brand” and “hello@yourbrand.com“). Indeed, this helps build trust and, consequently, improve open rates.

After that, write a compelling subject line and preview text.
In the “Subject” section, make sure to craft a clear, concise, and, additionally, engaging subject line that encourages opens. The preview text, on the other hand, is the short snippet that appears after the subject line in many email clients; therefore, use it to provide additional context or incentive.

Next, design your email content.
First, click “Design Email.” Here, you’ll find various templates (“Layouts”) which are, in fact, a great starting point. So, select a basic layout, then use the drag-and-drop editor to add your content:
- For example, add your brand logo, usually at the top.
- Also, write your email copy. Keep paragraphs short and use headings.
- Furthermore, add relevant images to break up text and add visual appeal.
- Finally, remember the platform automatically includes required information like an unsubscribe link and your physical address; therefore, ensure this is accurate.

Then, add a clear Call to Action (CTA).
Within your email design, be sure to include at least one clear Call to Action. This is usually a button that tells subscribers what you want them to do next (for example, “Read More,” “Shop Now,” “Visit Our Website”). Thus, make your CTA button stand out with contrasting colors and clear text using the button block.

Lastly, preview and test your email thoroughly.
Before sending, always use the “Preview” mode (which is usually found in the top right of the editor). More importantly, however, send a test email to yourself and, perhaps, a few colleagues. Then, check it on both desktop and mobile devices. Specifically, look for typos, broken links, and how images render.

Part 3 of 3: Sending and Reviewing Your Mailchimp Campaign
Now, send or schedule your campaign.
Once you are satisfied with your test email, go back to your campaign setup page. Here, you’ll see a summary of all sections. If everything looks good, you can then either “Send” the campaign immediately or, alternatively, “Schedule” it to go out at a specific date and time.

Finally, review your campaign report.
After your campaign has been sent (allow a few hours or, perhaps, a day for data to collect), next go to the “Campaigns” section and click “Reports” next to your sent campaign. Key metrics in your Mailchimp report to observe are, for instance, open rate (how many people opened it) and, additionally, click rate (how many clicked a link).

Tips:
- Primarily, start simple: For your first Mailchimp campaign, don’t overcomplicate the design or content. Instead, focus on clarity.
- Also, provide value: Ensure your email content is useful, interesting, or, perhaps, entertaining for your subscribers.
- Furthermore, be consistent: If you plan to send regular emails (e.g., a monthly newsletter), then try to stick to a schedule.
- Importantly, proofread carefully: Because typos and grammatical errors can look unprofessional.
- Additionally, think mobile-first: Since many people will read your email on a mobile device, ensure your design is responsive. Fortunately, Mailchimp templates are generally good for this.
- Moreover, find your Mailchimp referral link. Mailchimp, for example, often has a referral program where you can earn account credits if someone signs up using your unique link. So, look for a “Referrals” or “Refer a Friend” section, often accessible via your account icon or profile settings. Then, share this link with others who might benefit from the platform.

Warnings:
- Crucially, never buy email lists. Only email people who have explicitly given you permission. Otherwise, sending unsolicited emails can harm your reputation and, consequently, get you flagged as spam.
- Also, don’t use misleading subject lines. Because this can frustrate subscribers and, as a result, lead to unsubscribes or spam complaints.
- Furthermore, be mindful of image sizes. Since very large images can make your email slow to load, thankfully, the platform often has tools to help resize.
- Finally, always include an unsubscribe link. Mailchimp, for instance, adds this automatically, which is, in fact, a legal requirement in most regions.
Things You’ll Need:
- A Mailchimp account, of course.
- Additionally, an email list of subscribers (who have given permission).
- Your business logo (optional but certainly recommended).
- Content for your email (specifically, text and images).
- Lastly, a clear idea of what you want your subscribers to do (your Call to Action).